English
 中文简体
 Español
 عربى

A filler runs 60,000 air freshener cans on Monday. By Thursday, three cases come back from the brand owner four grams light, and the claim is already open. Cutting the samples apart shows the cause is neither the propellant nor the concentrate: crimp height drifted 0.15 mm, and the gaskets were harder than the drawing allowed.
An aerosol valve inspection checklist exists to catch that drift before the pallet ships. What follows is the working version we hand to fillers and brand owners: three gates, the measurements that actually find escaping product, and the reference values you should confirm against your own valve drawing and can specification.
Keep these five checks in front of you: crimp height, crimp diameter, dose weight, hot water bath result and actuator fit. Everything else on the list supports them.
Three Gates, One Checklist
Splitting inspection into three gates keeps every check short and puts findings where they can still be fixed cheaply.
- Gate 1, goods-in. Inspect valves as they arrive from the valve manufacturer, before they reach the filling line. Rejecting a batch here costs freight, not production.
- Gate 2, line-side. Verify crimp geometry, gasket compression and valve orientation at start-up, after every changeover, and at fixed intervals while running.
- Gate 3, post-fill. Test the finished can: delivered dose, spray performance, leak tightness and weight loss over time.
A checklist that covers only gate 3 always reacts late. One that covers only gate 1 misses the damage a badly set crimper does to perfectly good valves.
Gate 1: Incoming Valve Inspection
Judge each delivery against the drawing and the purchase order rather than the previous shipment, and pull samples from at least three cartons at different pallet depths.
- Cup diameter and material. Confirm 1 inch (25.4 mm) or 20 mm, and aluminum or tinplate. Mixed cup materials in one delivery behave differently at the crimper.
- Stem type and height. A 2.80 mm stem in plastic or metal changes actuation feel and seal loading. Measure with a gauge, never by eye.
- Gasket condition. Look for nicks, flash, uneven seating and the wrong elastomer odour, then confirm the compound against your compatibility list.
- Metering chamber. Check the marked dose, from 25 to 200 mcl, against the label and the order. A mislabelled chamber is expensive to discover after filling.
- Actuator and cap fit. Push the nozzle or cap onto a sample valve. Insertion should be firm and repeatable, with no rocking and no free rotation.
- Traceability. Record the batch code, receiving date and sample result so any claim leads back to one delivery.
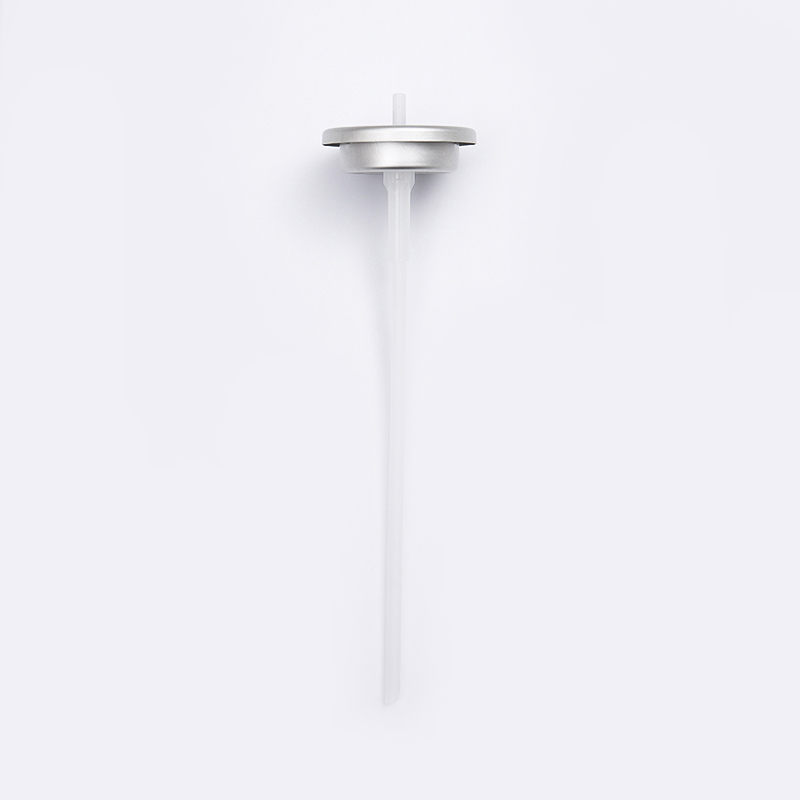
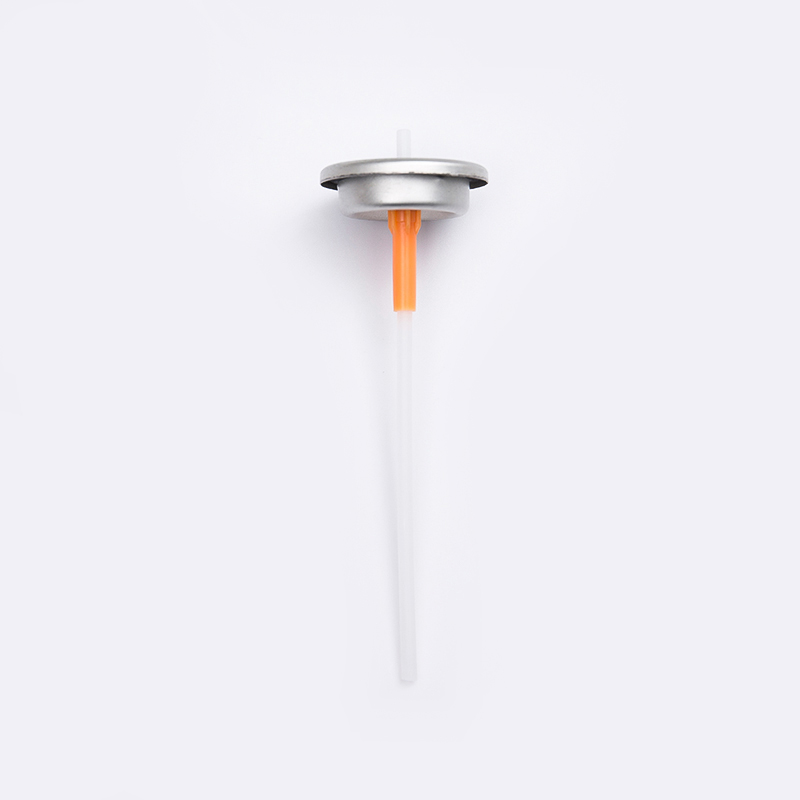
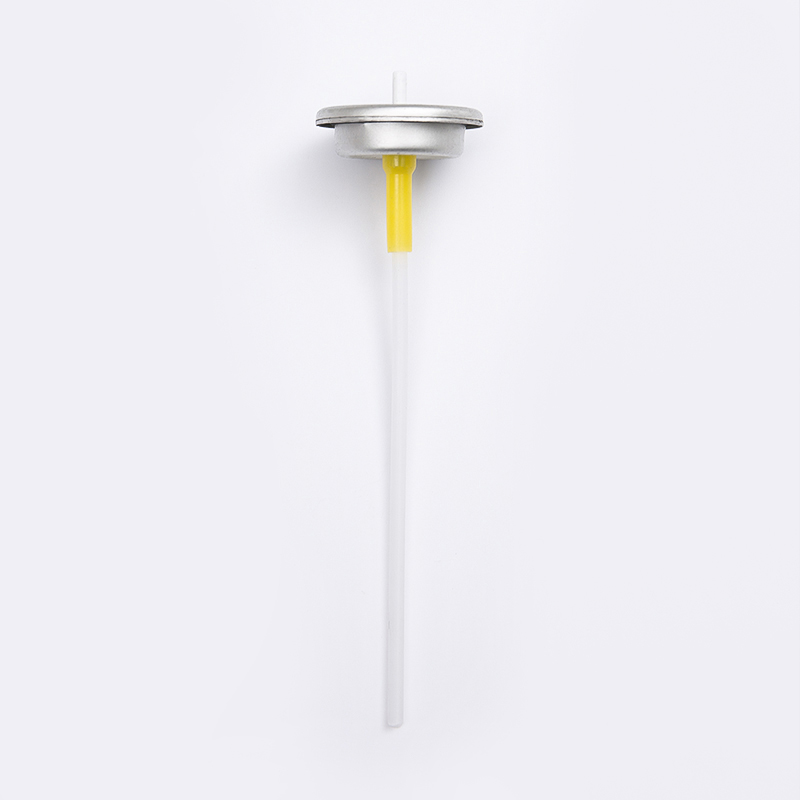
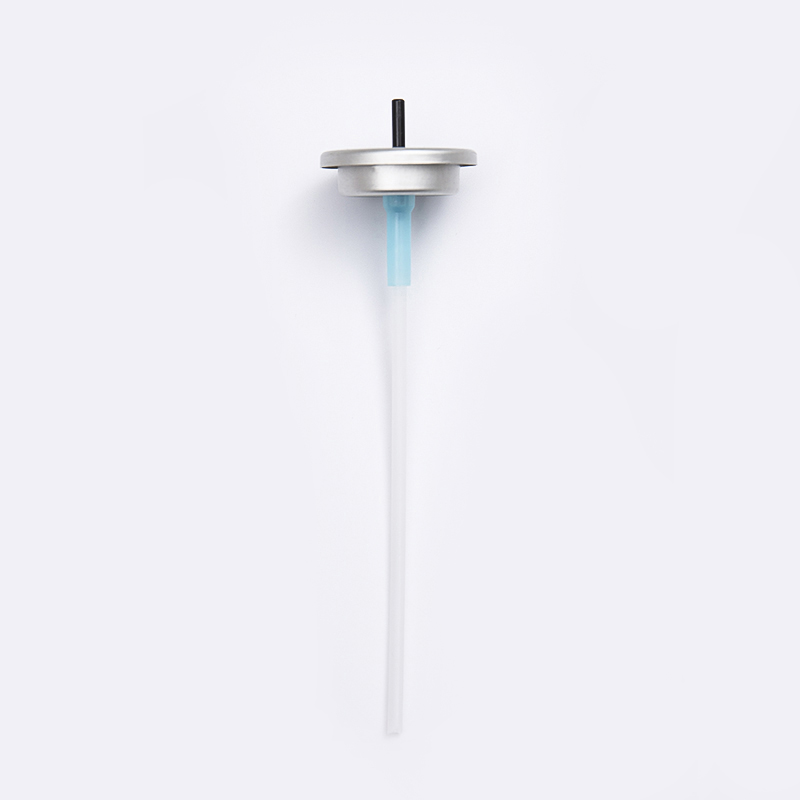
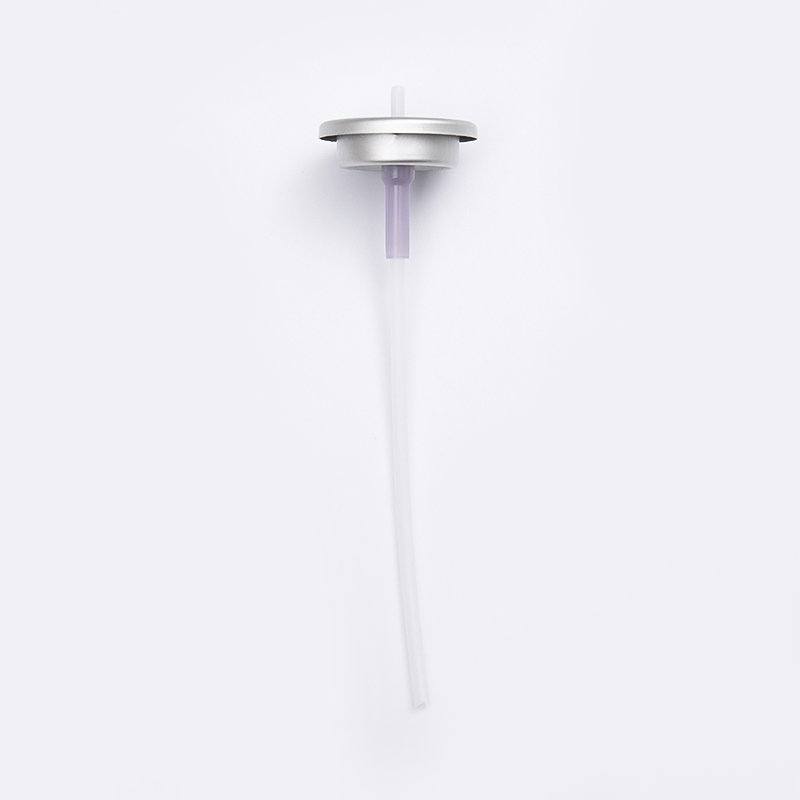
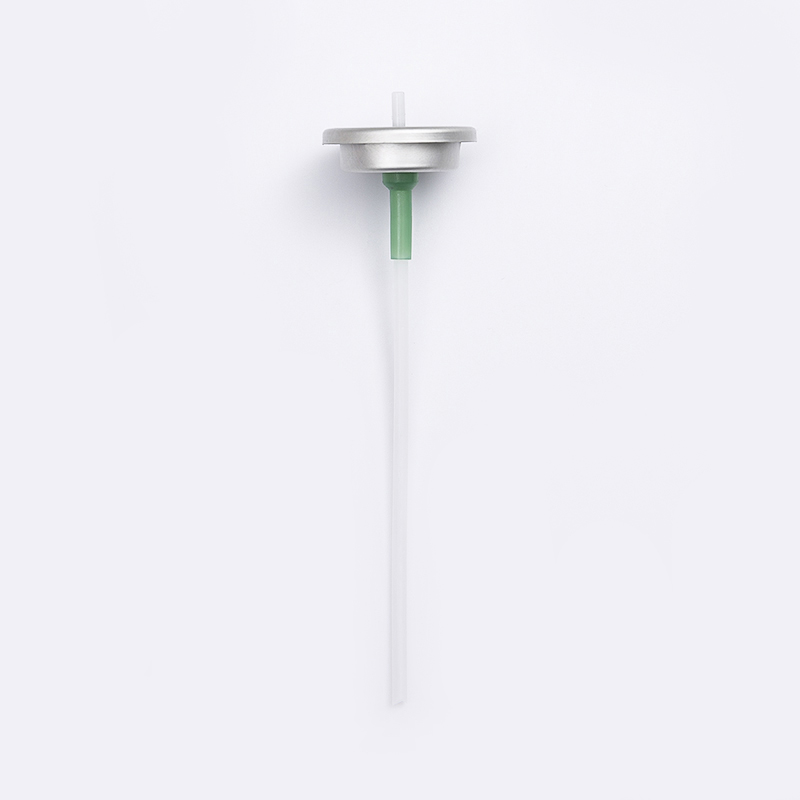
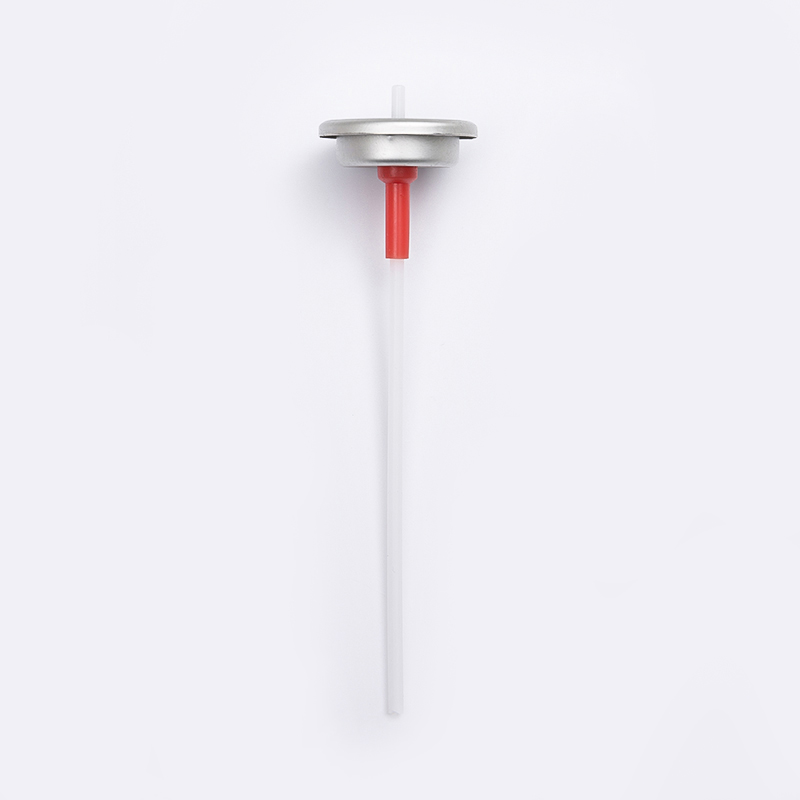
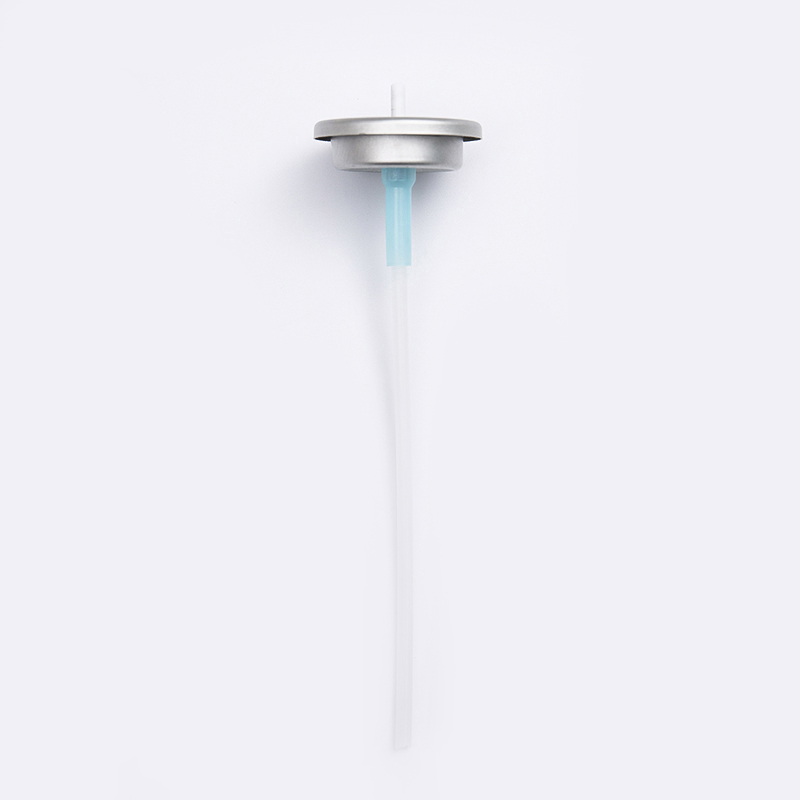
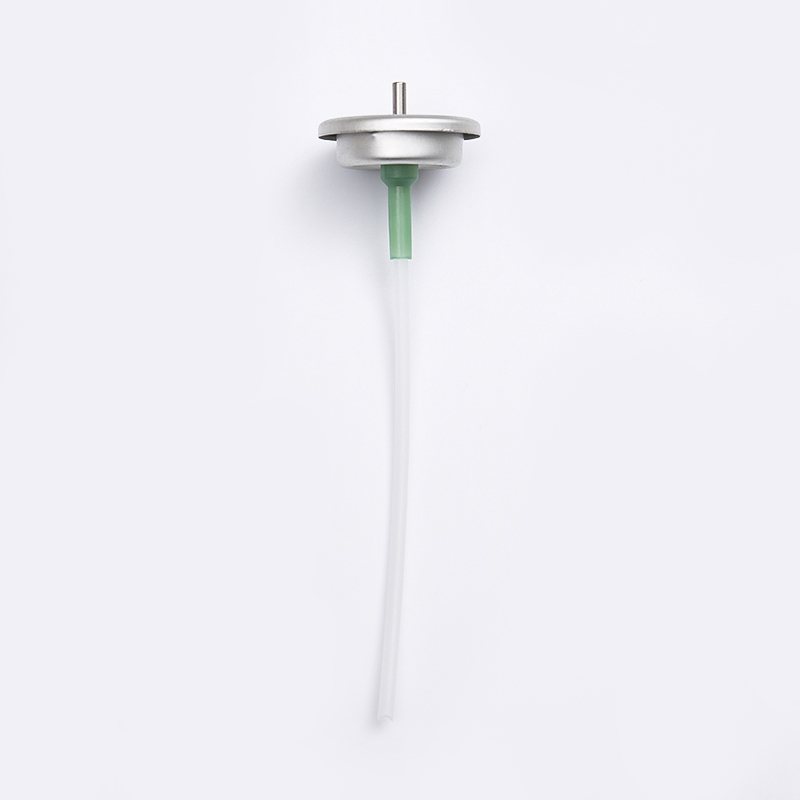
 D1S2.8 One-Inch 100 mcl Metered Aerosol Spray ValvePrecision 100 mcl valve with plastic body and metal stem for consistent one-inch aerosol dosing in personal care, household, and industrial sprays.View Product →
The same checks apply across the 1-inch family, from a 25 mcl sample valve to a 200 mcl version in an aluminum or tinplate cup.
Gate 2: Crimp, Gasket and Orientation Checks
Crimp geometry decides whether the gasket is compressed enough to seal and not so far that it splits. Two numbers matter: crimp diameter, meaning how far the cup skirt rolls inward, and crimp height, sometimes called crimp depth.
What to measure
- Read crimp diameter at three points 120 degrees apart; the spread shows whether the head is concentric.
- Read crimp height on the same cans. Windows near 0.20 mm on diameter and 0.30 mm on height are common on 1-inch valves, but your drawing is the authority.
- Check gasket squeeze and that the valve sits square, with no tilt that thins the seal on one side.
When to measure
At start-up, after every changeover or tool change, after any stop longer than 30 minutes, then every 30 to 60 minutes. Log numbers instead of pass or fail, because a trend warns you before cans start leaking.
Cleanliness
One fibre or a flake of dried concentrate on the cup seat creates a leak path that no crimp setting can close. Wipe the seat and inspect the crimping head at every changeover.
Gate 3: Dose Weight, Spray and Leak Testing
Dose weight is the fastest indicator of valve health. Fire ten shots from a filled can, weigh the delivered product, divide by ten, then repeat on two more cans. A 100 mcl chamber with a 0.85 g/ml liquid should deliver about 85 mg per shot.
- A window of ±10% of nominal is typical; fragrance and pharmaceutical products usually tighten it.
- Watch the trend, not only the average. A slow upward drift often means stem or gasket wear.
- Check spray angle and pattern, plus particle size for fine mist products, on those same three cans.
For leak screening, hold cans in a water bath at 50 to 55 °C for about three minutes. A continuous stream of bubbles fails; a single bubble that stays attached is usually trapped air. Follow the bath with weight-loss monitoring: weigh ten cans on day 0, 3, 7 and 30 and compare the slope with your stability protocol.
When dose drifts while crimp dimensions stay in window, the cause sits inside the valve, because how metered aerosol valves hold a dose depends on chamber volume, stem seal and spring return.
The Checklist at a Glance
Use this table as the line document. The reference column shows the kind of window you will see on a standard 1-inch metering valve; replace it with your own drawing values before the first run.
| Gate | Check | Method | Typical reference |
|---|---|---|---|
| Goods-in | Cup diameter and material | Gauge, samples from three cartons | 25.4 mm or 20 mm per drawing |
| Goods-in | Metering chamber volume | Compare marking with the order | 25 to 200 mcl as ordered |
| Goods-in | Gasket, stem and actuator fit | Visual and sample actuation | No nicks, no rocking, no free rotation |
| Line-side | Crimp diameter | Crimp gauge, three points apart | Window about 0.20 mm wide |
| Line-side | Crimp height | Crimp gauge on the same cans | Window about 0.30 mm wide |
| Line-side | Cup seat cleanliness | Visual before crimping | No fibre, dust or dried product |
| Post-fill | Delivered dose weight | Weigh ten shots on three cans | Within ±10% of nominal |
| Post-fill | Gross leak | Water bath, three minutes | No continuous bubble stream |
| Post-fill | Weight loss | Weigh ten cans on day 0, 3, 7, 30 | Per stability protocol |
What Leaks After Filling Usually Tell You
The pattern of failures narrows the cause faster than any single measurement.
- Every can from one station leaks. That crimping head is misaligned or set to the wrong height.
- Leaks appear only in warm weather. Pressure rises with temperature and a marginal seal opens. Review fill ratio, propellant pressure and valve pressure rating.
- Leaks cluster at the start of a shift. Cold tooling and cold gaskets crimp differently. Let the crimper reach running temperature before releasing cans.
- Random leaks across the run. Suspect cup seat contamination, mixed gasket batches or a delivery outside its durometer specification.
- Product escaping around the stem. Stem seal wear, the wrong elastomer for the solvent, or over-tight actuator insertion.
When the Valve Is Not a Standard 1-Inch Metering Valve
20 mm valves on 20 mm aluminum cans
Cup diameter and crimping head differ, so never carry 1-inch settings or gauges across. Doses from 35 to 200 mcl are available, and the same dose-weight and bath checks apply once the crimp is confirmed.
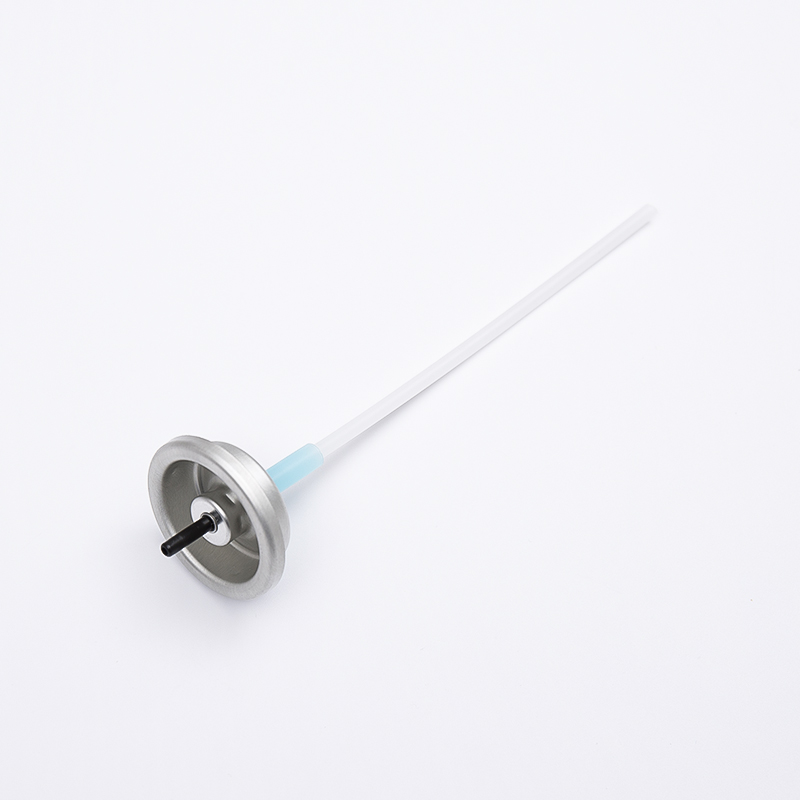
 D20S2.8 20 mm 150 mcl Metered Aerosol ValveFor 20 mm aluminum cans, this 150 mcl metal-stem metered valve suits cleaners, lubricants, disinfectants, and beauty products with precise spray output.View Product →
Bag-on-valve systems
With BOV, product and propellant never meet, so inspection shifts to bag weld integrity, the valve-to-bag joint and proof that no product entered the propellant path. The crimp still matters, but the bag decides whether the can holds pressure for two years.
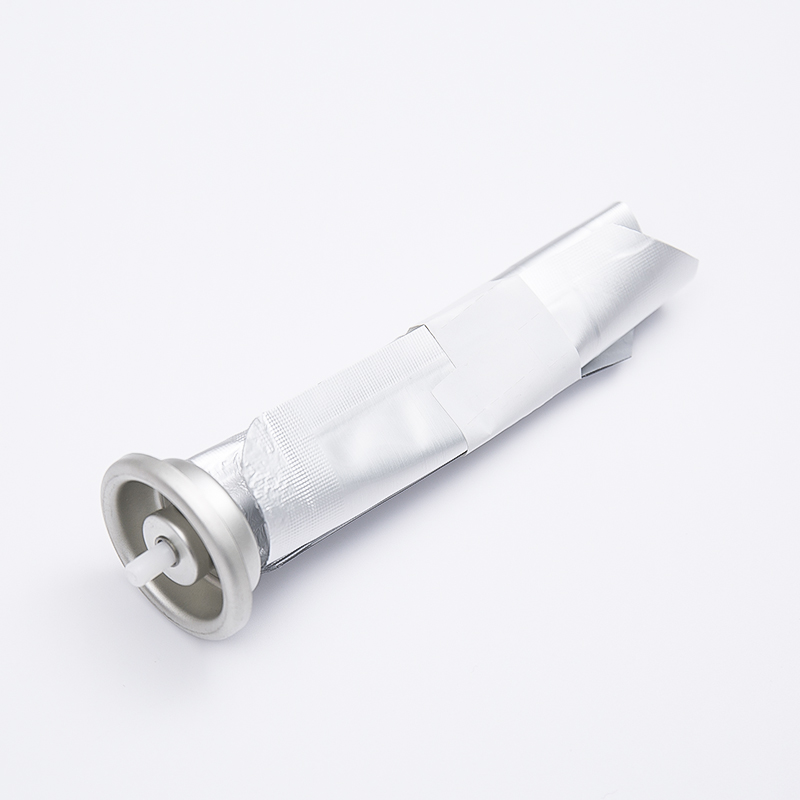 BOV-S4.00 Bag-on-Valve Aerosol Valve with Tinplate CupBag-on-valve assembly for aluminum cans keeps product separate from propellant; tinplate cup adds firmness and anti-rust protection for high-pressure aerosol use.View Product →
Fire extinguisher and stove valves
Fire extinguisher valves are checked for pressure retention, cover and handle function, powder or liquid compatibility and tamper evidence. Portable butane and barbecue stove valves are checked for thread condition, gas compatibility and tightness at elevated pressure. Add a functional actuation test to every sample, because a failure here is a safety event, not a cosmetic complaint.
What a Valve Supplier Should Put in Writing
Most checklist failures trace back to a document that never existed. Ask for these before the first order ships:
- A dimensioned drawing with tolerances for cup diameter, stem height and crimp height.
- A dose verification report stating the test liquid density used to convert mcl into milligrams.
- Gasket compound data: material, durometer and formulation compatibility.
- Food-contact or pharmaceutical declarations where the application requires them.
- Batch traceability plus a change notification clause, so a silent material substitution never reaches your line.
We build metered aerosol valves to a customer drawing, so dose, stem material and cup are fixed before mass production and the inspection reference values travel with the order.
Frequently Asked Questions
Q1: How wide should crimp tolerance be on a 1-inch valve?
Windows near 0.20 mm on crimp diameter and 0.30 mm on crimp height are common, but they are not universal. Use the tolerance on your valve and can drawing; a wider window usually means the gasket is doing too much work.
Q2: How often should valves be inspected on a running line?
At start-up, after each changeover or stop longer than 30 minutes, then every 30 to 60 minutes. Sample three cans per check and log the values.
Q3: Can a leaking can be reworked?
Not safely. Once the seal is broken, the can cannot be re-crimped to its original specification, and depressurising has to follow your local regulations. Scrap it and investigate the cause.
Q4: Does the same checklist work for 20 mm valves?
The sequence is identical, the numbers are not. Use 20 mm gauges and tooling, and rebuild the reference column from the 20 mm valve drawing.
Make It a Line Document, Not a Folder File
Print the checklist, name one owner per gate, and record numbers instead of ticks. The teams that catch problems earliest are the ones that can show a crimp trend chart next to their dose chart.
Send us your can drawing, target dose and formulation type, and we will come back with the matching valve, gasket recommendation and crimp reference values for your line.