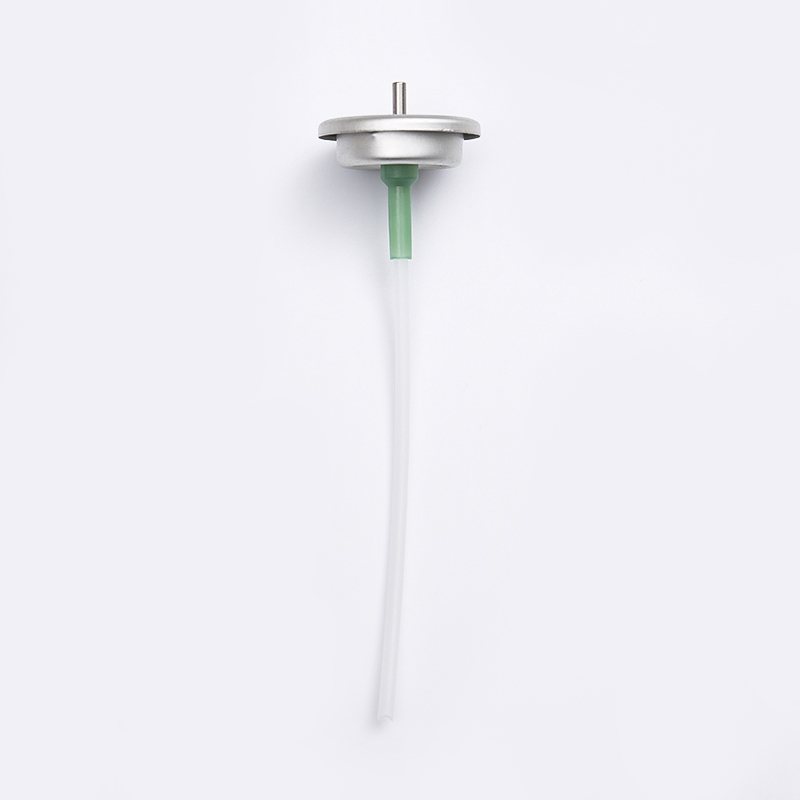
English
 中文简体
 Español
 عربى

A filling plant running two shifts was rejecting about 0.6% of its aerosol cans at the hot water bath leak test. The first suspicion fell on the can supplier. A crimp gauge told a different story: the crimp diameter on the valve was running 0.15 mm above the value on the valve data sheet, and the collets in the crimping head had not been replaced in two years.
This failure pattern repeats across filling plants of every size, because the aerosol valve crimping process is where most invisible packaging defects are born. The crimp is the mechanical lock that joins the valve to the can and creates the gas-tight seal around the opening. When it is wrong, the leak may not appear until the batch has already shipped.
This article explains what happens during the aerosol valve crimping process, which parameters you must control, which defects appear when those parameters drift, and which quality checks keep leaker rates low.
What the aerosol valve crimping process actually does
Crimping is a cold-forming operation. The valve mounting cup, usually made of tinplate or aluminum, is pressed onto the rolled curl of the can opening. A rubber gasket, either a cut gasket fitted into the cup or a flowed-in compound applied inside the cup, sits between the cup wall and the curl. During crimping, a collet slips inside the cup and expands radially. The cup wall is formed outward and under the curl, and the gasket is compressed between the two metal components.
A correct crimp does three things. It mechanically locks the cup onto the can so the valve cannot separate during handling. It compresses the gasket to the level needed to block liquid and propellant vapor. And it keeps the valve stem concentric with the can axis, which is what allows a snap-on actuator to produce an even spray pattern and a consistent metered dose.
For a metered-dose valve, seal integrity protects the propellant charge. A leaking crimp lets propellant escape, internal pressure drops, and the delivered dose becomes lighter. To see how sensitive the fixed dose is to pressure, read our explanation of one-inch quantitative valve dosage control.
A one-inch metered dose valve with an aluminum cup, such as our D1S2-8-120 mcl model for bottles, gives filling operators a repeatable crimp target because aluminum forms cleanly and holds its dimensions after the collet relaxes.
 D1S2.8 120mcl One-Inch Metered Dose Valve with Aluminum Cup for BottlesThis valve pairs a 120 mcl dosage with a one-inch aluminum cup, offering a stable crimp target for manual or high-speed filling lines. Its precision dosing suits medical, home, and lab dispensing needs.View Product →
The crimping sequence on a production line
Whether the line is a manual bench fixture or a rotary head running 200 cans per minute, the sequence is the same.
- Gasket and cup preparation. Cut gaskets are seated in the cup profile; flowed-in gaskets are applied as a liquid compound and cured before the valve reaches the crimping station.
- Valve placement. The valve is placed over the can orifice so the stem points straight up and the cup groove sits evenly on the can curl.
- Collet entry. The crimping head descends and the collet fingers slide into the cup without touching the stem.
- Crimp formation. The collet expands with controlled force, bending the cup wall under the curl and compressing the gasket to its design thickness.
- Retraction and release. The collet relaxes, the head rises, and the can moves toward an inline check such as a can-height measurement or a short pressure decay test.
The collet force profile is set once for each valve-and-can combination. On high-speed lines, the head should be checked at the start of every shift and after any tooling change, because a worn collet changes the effective force even when the machine gauge reads the same value.
Parameters that decide crimp quality
Four parameters determine whether a crimp is acceptable. Each one can be measured, and each one fails in a different way.
| Parameter | What it controls | Typical check | Failure mode |
|---|---|---|---|
| Crimp diameter | Gasket compression and seal tightness | Crimp gauge or digital caliper | Loose cup, slow leaker |
| Crimp depth | Cup-to-curl engagement | Depth gauge around the circumference | Actuator interference, leak path |
| Collet closing force | Consistency of cup forming | Machine pressure gauge and sample checks | Over-crimp, cracked cup |
| Collet condition | Roundness of the formed crimp | Visual inspection and dimensional samples | Oval crimp, side leak |
The correct numbers are not universal. For most one-inch valves, crimp diameter commonly falls between about 26.5 and 27.0 mm, but the exact window depends on the can curl profile and cup material. A tinplate cup behaves differently from an aluminum cup, and a 20 mm ferrule needs a different tooling set with a proportionally tighter window.
For fragrance and personal care fills on 20 mm aluminum cans, the 20 mm metered valve with plastic stem and aluminum cup is a typical example: because the cup is smaller, operators need a working crimp gauge rather than a visual judgment.
 D20S2.8 100mcl 20mm Metering Aerosol Valve with Plastic StemDesigned for 20 mm aluminum cans, this metering valve delivers 100 mcl per spray with a corrosion-resistant plastic stem. Its compact build aids consistent crimping and precise dosage in personal care and household products.View Product →
Common crimp defects and how to find them
Most leaker claims trace back to one of the five defects below. Checking for them takes less time than reworking a pallet.
- Under-crimping. The crimp diameter stays too large and the gasket is not compressed enough. A slow leaker shows up in the water bath or as a can that loses weight after filling.
- Over-crimping. Excessive force drives the cup too deep; the gasket is squeezed, cut, or extruded, and the cup can crack around the stem.
- Off-center crimp. The valve is not concentric with the can opening, so gasket compression is uneven. One side of the cup looks higher than the other.
- Rolled gasket. The valve was pressed onto the can at an angle and the gasket folded, creating a direct leak path around the curl.
- Worn collet. A worn or damaged collet produces an oval crimp, and the round can curl no longer meets the formed cup uniformly.
Quality control around the crimp
Industrial practice does not trust the machine setting; it verifies the result. The aerosol valve crimping process should be monitored with the same discipline as the fill volume.
Dimensional checks
Crimp diameter and crimp depth are measured with dedicated crimp gauges at the start of every shift and at hourly intervals. Results are recorded per filling head so that drift is visible before defects are produced.
Leak detection
The hot water bath test is the industry workhorse: cans pass through heated water at about 50 to 55 degrees Celsius, and a stream of bubbles marks a failed crimp. For micro-leaks, pressure decay testing is more sensitive and is recommended for metered-dose and bag-on-valve products.
Destructive checks and standards
Burst pressure and cup torque tests confirm that the crimp survives handling. On the standards side, ASTM D3076-18 provides a widely used benchmark for evaluating effective crimping of outside-crimped valves over a broad range of container and valve dimensions.
Every one of these checks matters more when propellant is held outside the product bag. In a bag-on-valve can, the crimp is the only barrier between propellant and atmosphere; a micro-leak vents the gas and collapses spray pressure within weeks. That is why most BOV packages, such as a one-inch BOV valve with tinplate cup for aluminum cans, use the same crimp window control as metered valves.
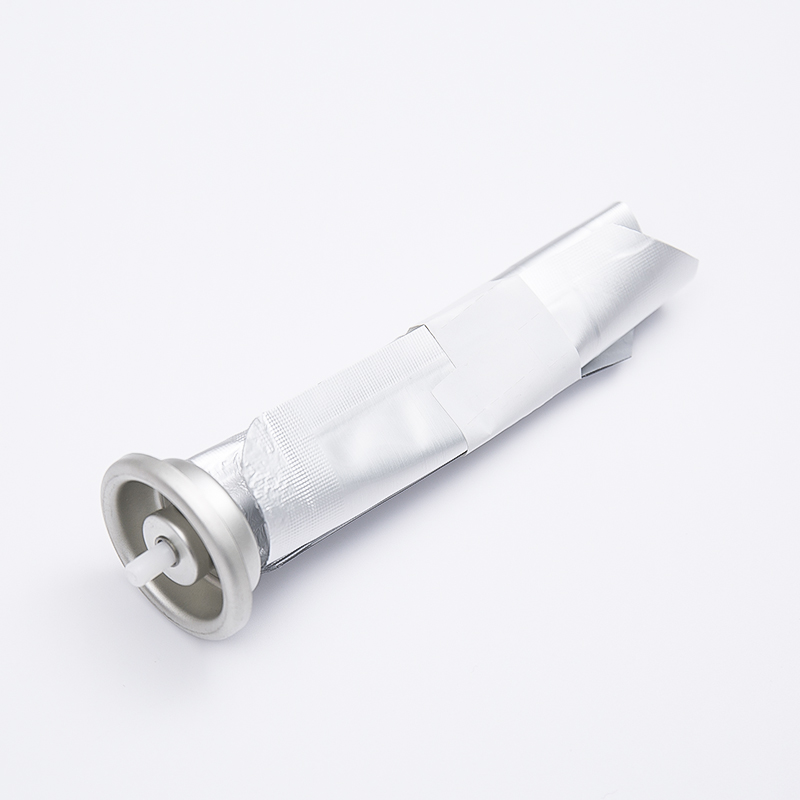 BOV-S4.00 Bag-on-Valve Aerosol Valve with Tinplate Cup for Aluminum CansThis bag-on-valve system uses a tinplate cup for durability and corrosion resistance, making it a reliable choice for aluminum cans. The crimp acts as the sole propellant barrier, so controlled sealing is critical.View Product →
What to verify before you commit to a valve supplier
When you source valves, you are also sourcing how those valves crimp on your cans. A valve that crimps well on a standard cup may behave differently with your can supplier's curl. Before signing a purchase order, check four things.
- Does the supplier publish a recommended crimp diameter, depth, and gauge method for each valve model?
- Can the supplier run a crimp trial on your actual cans and share dimensional results plus water bath data?
- Does the factory check collet wear and recalibrate crimp gauges on a defined schedule?
- Is there a documented quality record for each batch, including cup lot, gasket lot, and crimp dimensions of pre-shipment samples?
These questions separate packaging design specs from real manufacturing control. A structured audit helps you spot the difference quickly; our guide on how to identify reliable aerosol valve manufacturers before you sign covers the full process of verifying a supplier's crimping and quality infrastructure.
Frequently asked questions about crimping
Q1: What is the standard practice for aerosol valve crimping?
ASTM D3076-18 is the reference practice for effective crimping of outside-crimped valves. It provides a repeatable method for evaluating whether a crimp will perform correctly over the normal range of container and valve dimensions.
Q2: How do you measure crimp diameter and crimp depth?
Crimp diameter is measured across the formed crimp with a calibrated crimp gauge or digital caliper. Crimp depth is measured from the top of the can curl to the top edge of the formed crimp. Taking the reading at two or three points around the circumference reveals ovality.
Q3: What happens if an aerosol valve is under-crimped?
The gasket is not compressed enough to seal. Propellant escapes slowly, the can loses pressure over time, and a metered valve delivers progressively smaller doses. Under-crimped cups may also rotate when the actuator is twisted.
Q4: Can the same valve model be crimped onto cans from different suppliers?
Only if the can curl profile, curl height, and neck diameter fall inside the crimp window of the valve. Different can makers form curls differently, so a trial crimp on the actual filling line is required before production.
Crimp quality is the difference between an aerosol product that performs for two years and one that fails in the warehouse. Understanding the aerosol valve crimping process, including the mechanical lock, the gasket compression, the four critical parameters, and the QC checks, gives you a practical route to lower leaker rates and stronger supplier evaluations.
When you receive a valve sample, crimp it, measure it, and run it through a water bath before accepting the price sheet. At our Shanghai factory, we crimp-test every new valve-and-can combination before shipping samples, so the recommended crimp window is never a guess.